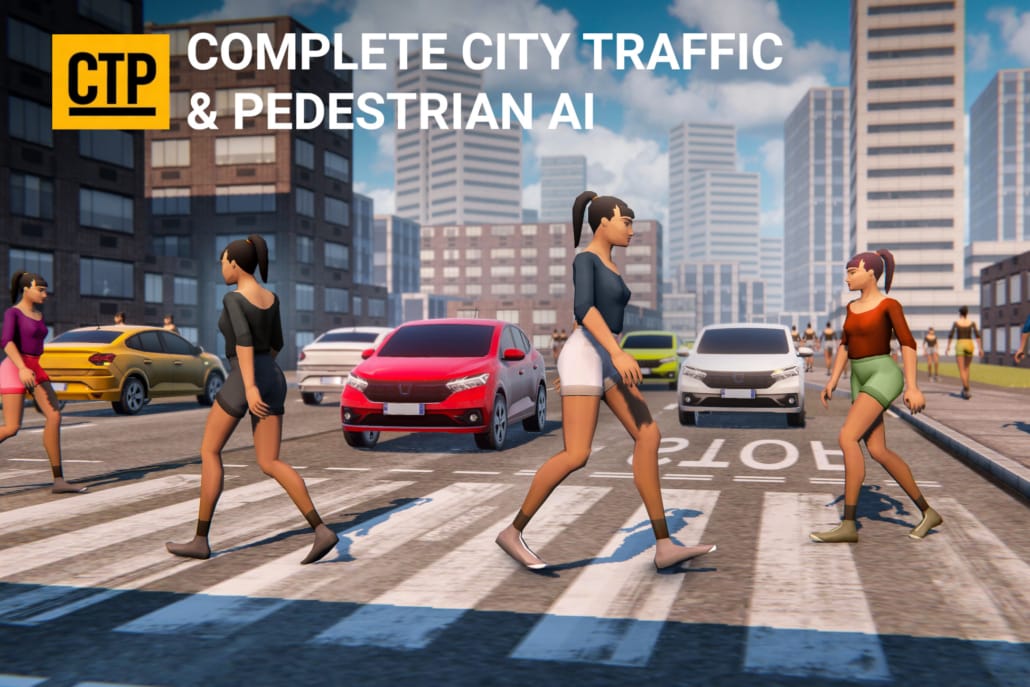
Complete City Traffic & Pedestrian System for Unity
Traffic and pedestrian AI for Unity — waypoint-driven, no NavMesh, full C# source.

Traffic and pedestrian AI for Unity — waypoint-driven, no NavMesh, full C# source.
This Unity traffic and pedestrian system drops a full city simulation into your project: cars that obey traffic lights, overtake, give way and clear the road for emergency vehicles, and pedestrian crowds that walk the pavements, wait at crossings and avoid each other and the traffic. Both systems are waypoint-driven, Burst-compiled and built mobile-first, so a busy street costs you frames you can afford. Complete commented C# source is included — nothing is hidden behind a DLL.
The traffic engine at the core of this package was nominated for Best Development Tool at the Unity Awards 2021 and is rated 4.8/5 from 65 ratings on the Unity Asset Store — more reviews than any competing traffic asset.
This package bundles both of Gley’s city-simulation systems and a ready-made example scene showing them running together on the same road network.
The vehicle half. Waypoint-based pathfinding, automatic overtaking and lane changing on multi-lane roads, full intersection management — traffic lights, priority intersections, roundabouts and give-way — plus speed zones, per-car-type road restrictions, automatic headlights, blinkers and engine sound. See the full Mobile Traffic System page.
The crowd half. Grid-based waypoint pathfinding that scales to any scene size, root-motion movement that works with any humanoid rig and animation set, traffic-light-aware street crossing, static and dynamic obstacle avoidance, and pedestrian types that can be restricted to specific areas. See the full Mobile Pedestrian System page.
They are genuinely modular. Each system runs on its own and can be imported separately — you can ship traffic first and add pedestrians later, or use only one, without touching the other’s code.
Both systems drive their agents along a waypoint network you lay out in the editor, not a NavMesh. That one decision is why the package behaves the way it does:
OnVehicleActivated, OnDestinationReached and OnObstaclesUpdated, or take control directly with SetDestination, SetVehiclePath and the priority-override calls, when you want scripted behaviour on top of the ambient simulation.If you have a city scene and want it populated, the whole process takes about twenty minutes the first time. Here is the short version — the full documentation covers each step in detail.
Import from the Package Manager into a Unity 2021.3 LTS or newer project. The package ships with an example city scene already wired up, so you can press Play and see a working simulation before you touch your own scene.
Open the traffic system’s editor window and place waypoints along your roads. Lanes are separate waypoint chains, which is how the system knows what overtaking is allowed and where. If you already use a road tool, the geometry is usually there to snap to.
Mark each junction as a traffic light intersection, a priority intersection, a roundabout or a give-way. The light timings are configured on the intersection itself, and the pedestrian system reads the same lights, so crossings stay in sync with the cars automatically.
Pedestrian waypoints go on the pavements as a grid rather than as lanes, because pedestrians wander rather than commute. Connect the crossings to the intersections you just configured.
Drop your car and character prefabs into the pooling lists, set how many of each should exist around the player, and press Play. Density is the main performance dial — start low on a mobile target and raise it until the frame budget tells you to stop.
Video walkthroughs of every step are on the tutorials page.
Most city traffic assets are built for desktop and then trimmed for phones. This one started on mobile. The pooling system, the Burst-compiled agent updates and the waypoint approach all exist because the budget was a phone frame from the beginning — which means on desktop and console you have headroom to spend on density instead of on getting it to run at all.
It runs on any platform that supports the Burst compiler: Windows, macOS, Linux, Android and iOS.
This package handles the AI, not the geometry. It is already compatible with EasyRoads3D, Cidy 3D and Road Constructor, so you can generate or model your city however you prefer and lay the waypoint network over the result. It works equally well on a hand-modelled block or an imported city mesh.
There are good free waypoint traffic scripts on GitHub, and for a single straight road they are enough. The cost shows up later: intersection priority, giving way, overtaking without collisions, pedestrians that cross on the right light, and pooling that holds a frame rate on a phone are each a week of work, and they interact. Most projects that start from a free script rewrite it once and then abandon it.
If you would rather spend that time on your game, that is the trade this package is for. If you would rather build it yourself, the tutorial videos explain how the intersection and priority logic works — they are free to watch either way.
Buy the bundle if your scene needs both cars and people. At list price the two systems bought separately come to $238 — $129 for Mobile Traffic System plus $109 for Mobile Pedestrian System — against $219 for the bundle, so you save $19 against the cost of buying both individually. The integrated example scene, showing traffic and pedestrians sharing one road network, only ships with the bundle.
Buy one system on its own if you only need one: a racing or driving game usually needs traffic alone, and an on-foot game in a quiet setting usually needs pedestrians alone. Nothing is lost by starting with one — the systems are independent, and adding the other later is an import, not a migration.
All three go on sale regularly; the Asset Store always shows the current price.
No. Both the traffic and the pedestrian system use their own waypoint pathfinding. There is nothing to bake, and no NavMesh agent limit to work around.
Built-in, URP and HDRP. The AI itself is renderer-agnostic — only the demo materials are pipeline-specific, and converting them is a standard material upgrade.
Yes — that is what it was designed for. Pooling keeps the active agent count low while density around the player stays high. Try the Android demo before you buy.
Yes. Mobile Traffic System and Mobile Pedestrian System are sold separately and each works without the other. The bundle is the cheaper route if you want both.
Yes — the complete, commented C# source. You can read it, change it and extend it. Nothing is locked in a DLL.
Yes. It is already compatible with EasyRoads3D, Cidy 3D and Road Constructor, and because the waypoint network is laid out independently of the geometry it works over any road mesh, generated or hand-modelled.
Emergency-vehicle behaviour is built in: flag a vehicle and the surrounding traffic clears the way. Chase or follow-the-player AI is not included out of the box, but the API is built for it — SetDestination, SetVehiclePath, waypoint queries, the priority-override calls and the behaviour-override delegates are all public.
Density is a setting, not a hard limit, and the honest answer depends on your target device and your prefab complexity. The pooling system means the number visible around the player matters far more than the size of your city. The PC and Android demos are the fastest way to judge it on hardware you care about.
Yes — playable PC and Android demos are linked at the top of this page.
Full written documentation, a video tutorial series, and a Discord where you can ask directly. Support is handled by the person who wrote the code.
Installation Tutorial
Intersection Setup
Read the documentation · Watch the tutorial series · Add matching low-poly vehicles
Get Complete City Traffic & Pedestrian System on the Unity Asset Store